If you know absolutely nothing about pumpkins, like me, you definitely should read this before decorating your front porch for Fall. I mean, you drove so far, worked so hard, and paid all of that money to pick those pumpkins. Don’t you want them to last through the entire Fall season?
I am what you would call a “Pumpkin Novice”. I have no prior experience with pumpkins, not picking, carving, decorating, nothing. However, this year I was determined to decorate my outdoor front entryway with “all the Fall things”, especially pumpkins! Before I started decorating, I learned of a hack to extend the shelf life of fresh pumpkins while they are outside making our home pretty. Doing this hack should keep your pumpkins looking just how your picked them until the end of Fall.
Wanna know what this pumpkin prepping process looks like? I can’t wait to tell you, but first, you’re probably wondering, “Why do I need to prep my pumpkins? I just get them from the farm/store and just set them outside.” Well, you don’t have to take this extra step before using your pumpkins as outdoor decor, but doing so is helpful. Basically, this prep will extend your pumpkins’ shelf life by ridding of any mold spores and dirt, which will cause early rotting if not removed.
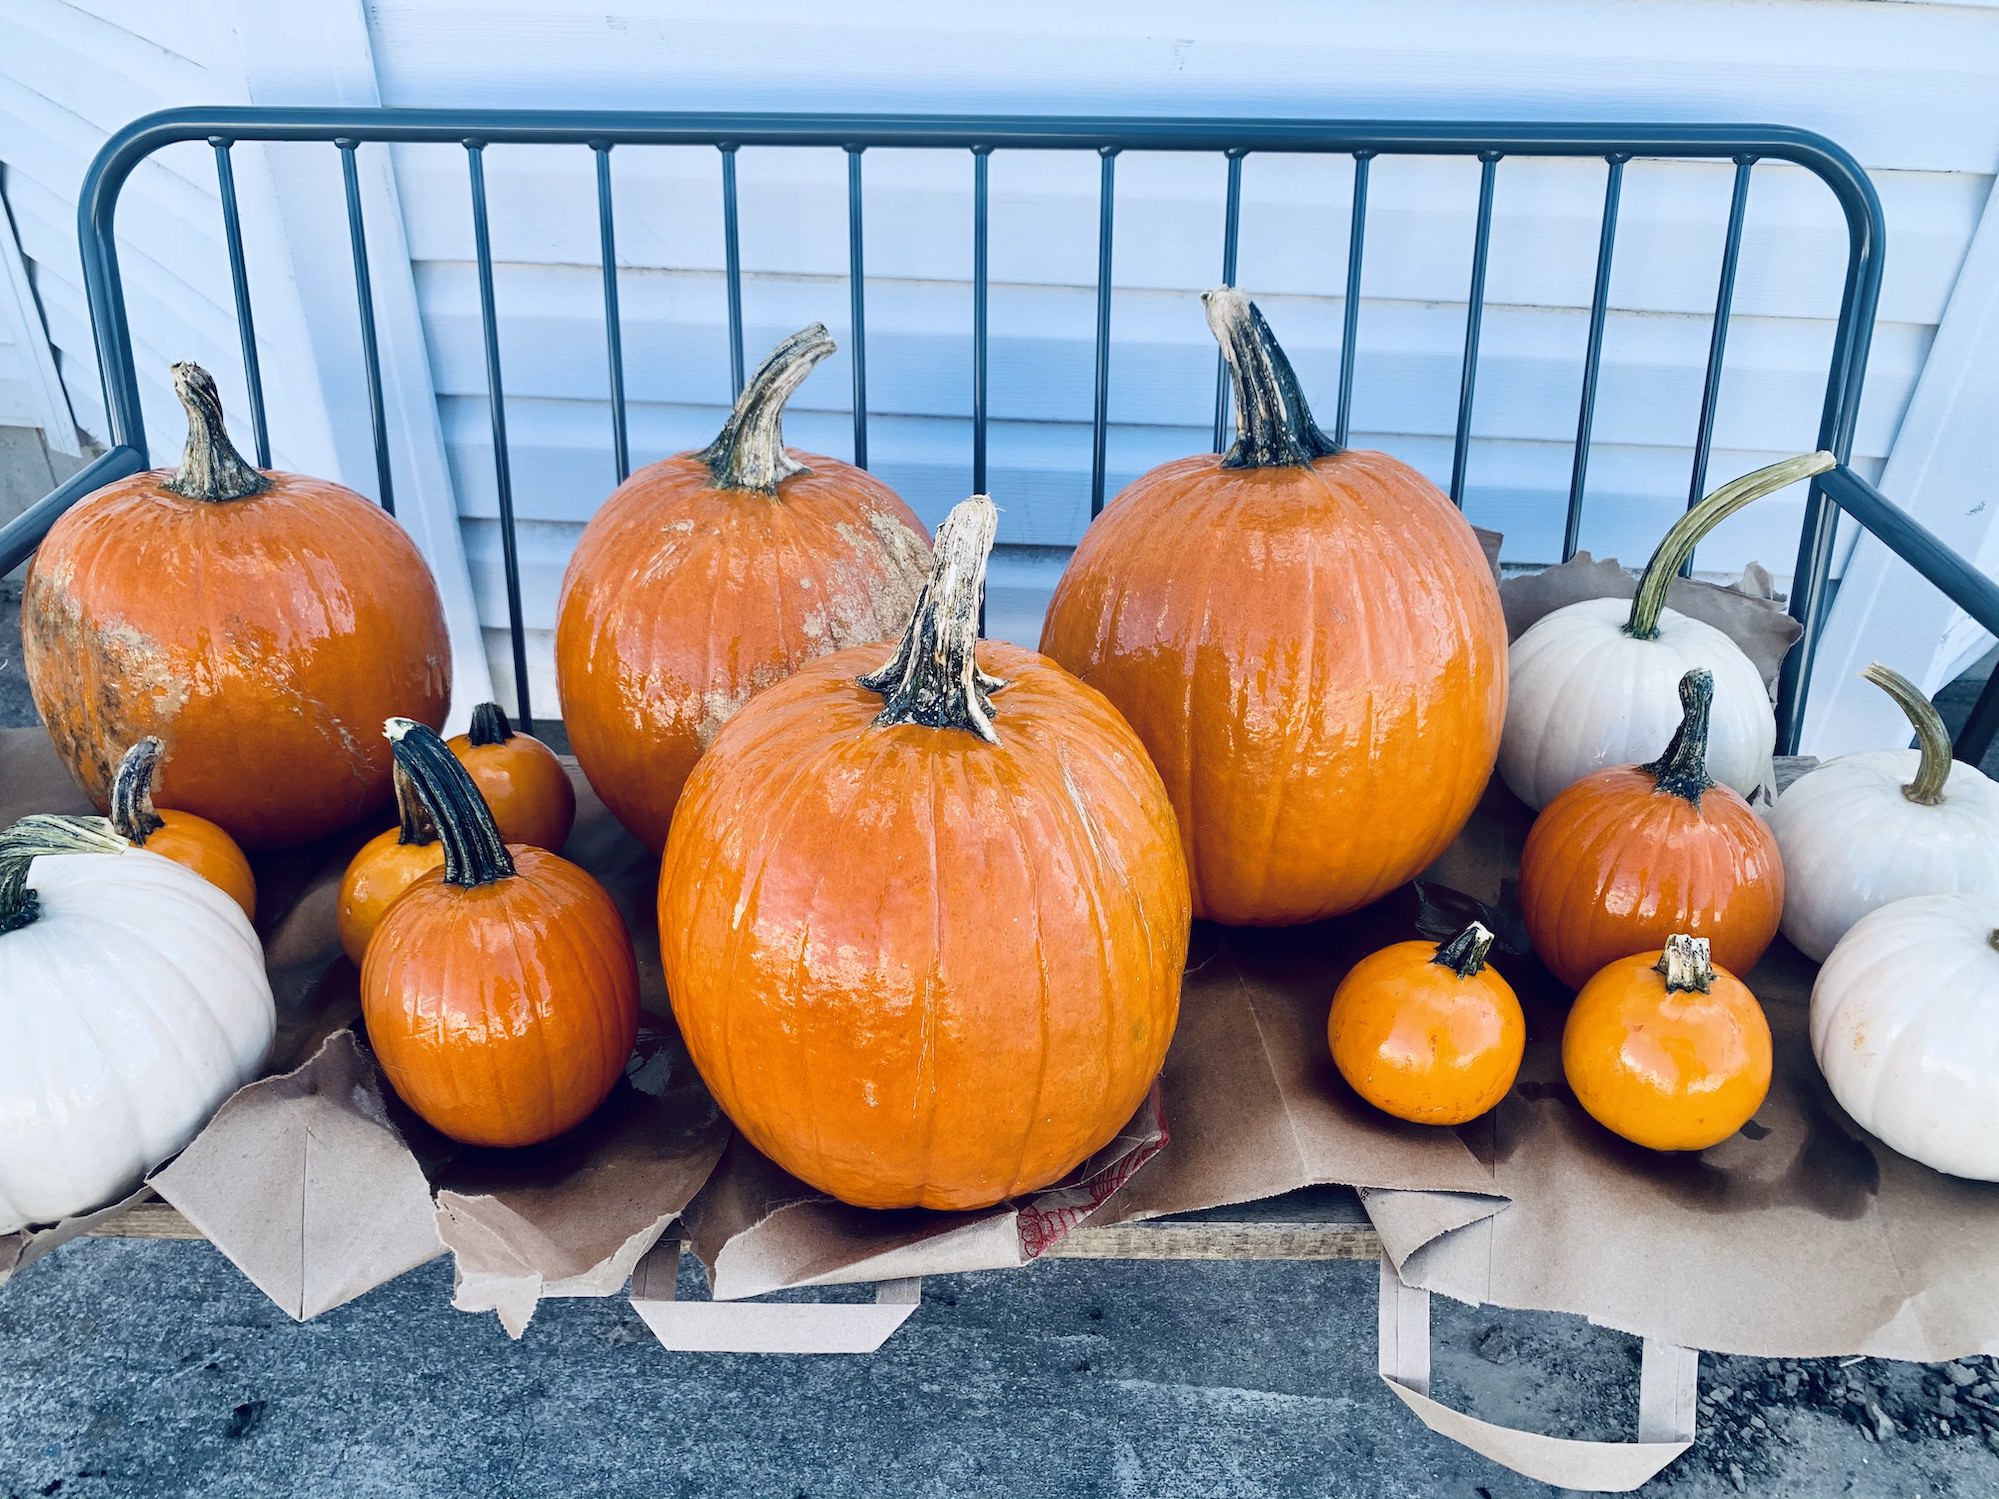
Now, there are a few caveats to all of this. You’ll definitely want to make sure you’re doing these extra steps whether you do this hack or not. First is getting pumpkins early in the season when they are at their prime. If you get a pumpkin that almost done, the hack has a greater chance of not providing you the results you want. Also, it’s important to shelter your pumpkins from extreme weather, especially cold and frost. You could do so by either bring them inside your garage or home where it is warmer or you can cover them before going to bed at night. Sort of like a “pumpkin blanket.” Having a covered porch is also helpful in shielding your pumpkins from extreme weather conditions.
Okay, show me the hack already!
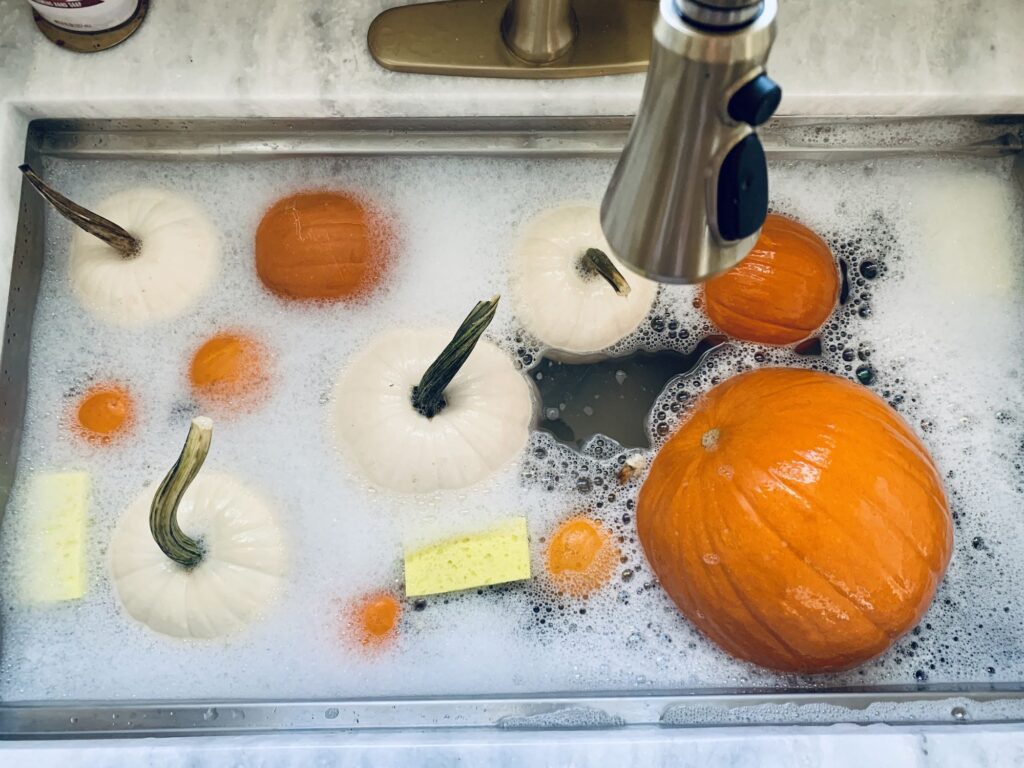
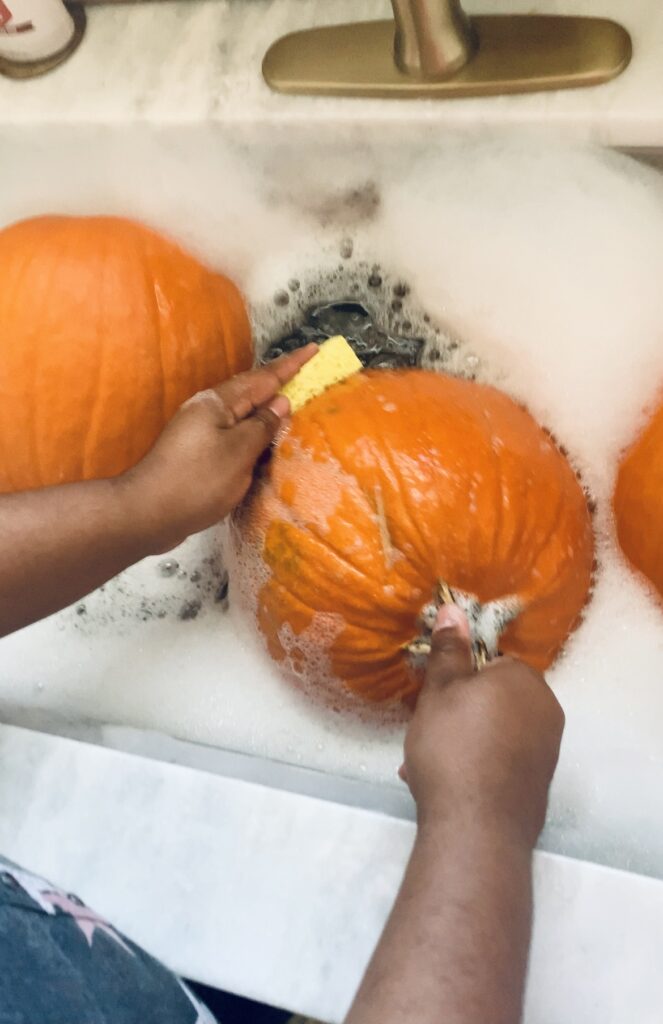
You’ve got it — here we go! First, soak your pumpkins in a warm bath. Wash them in hot water along with a little dish soap and a little bleach. We used dish sponges to gently scrub the pumpkins clean before soaking them in the water, soap, and bleach bath for about 20-30 minutes.
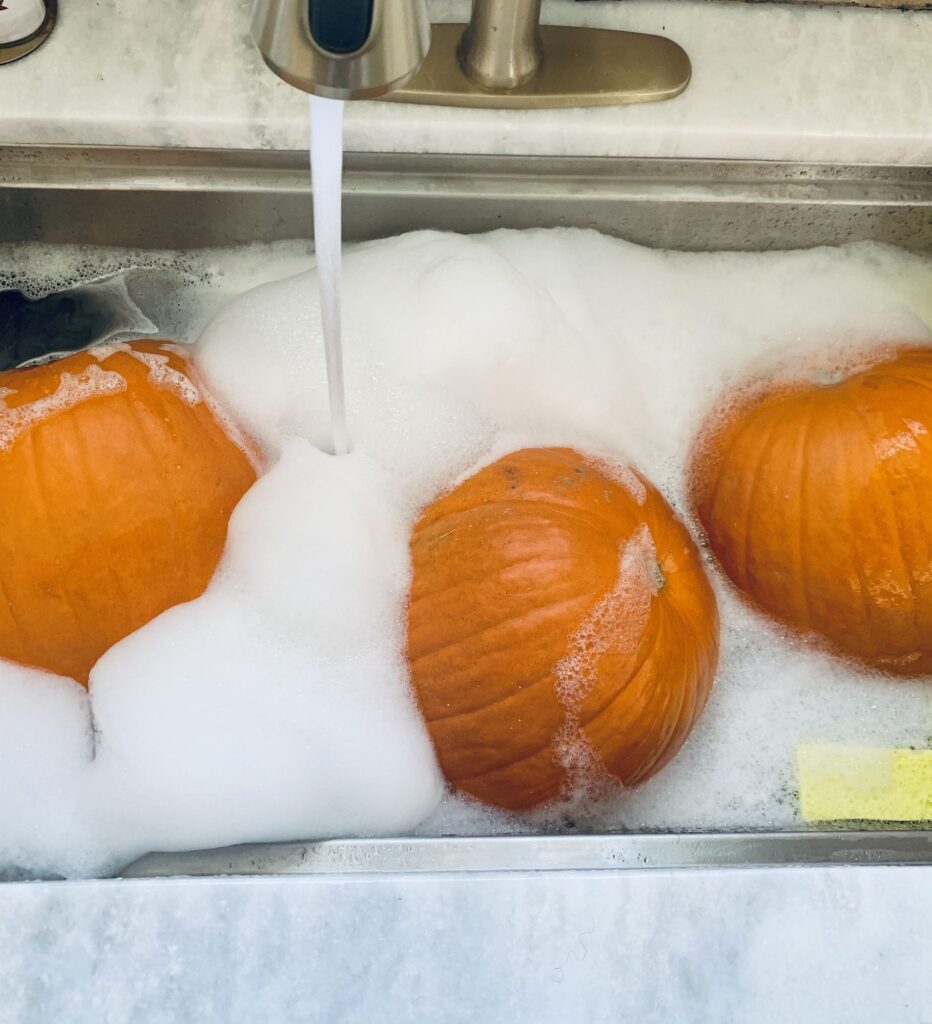
Don’t forget to thoroughly wash the pumpkin’s stem and button. These are places where mold can quickly develop.
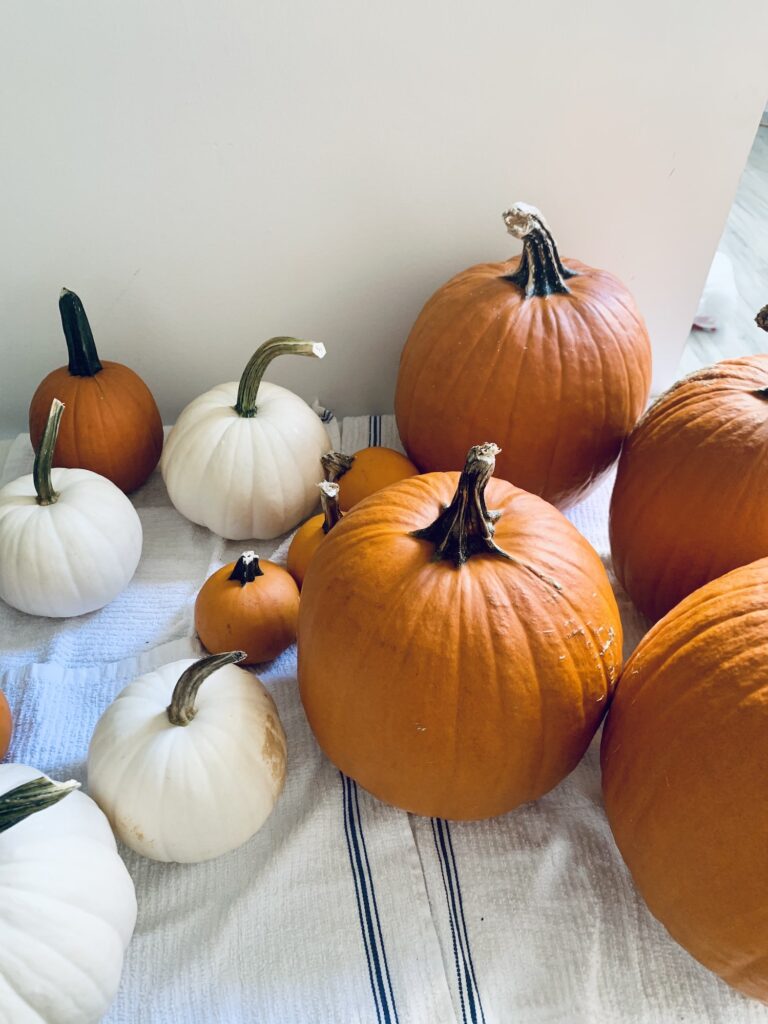
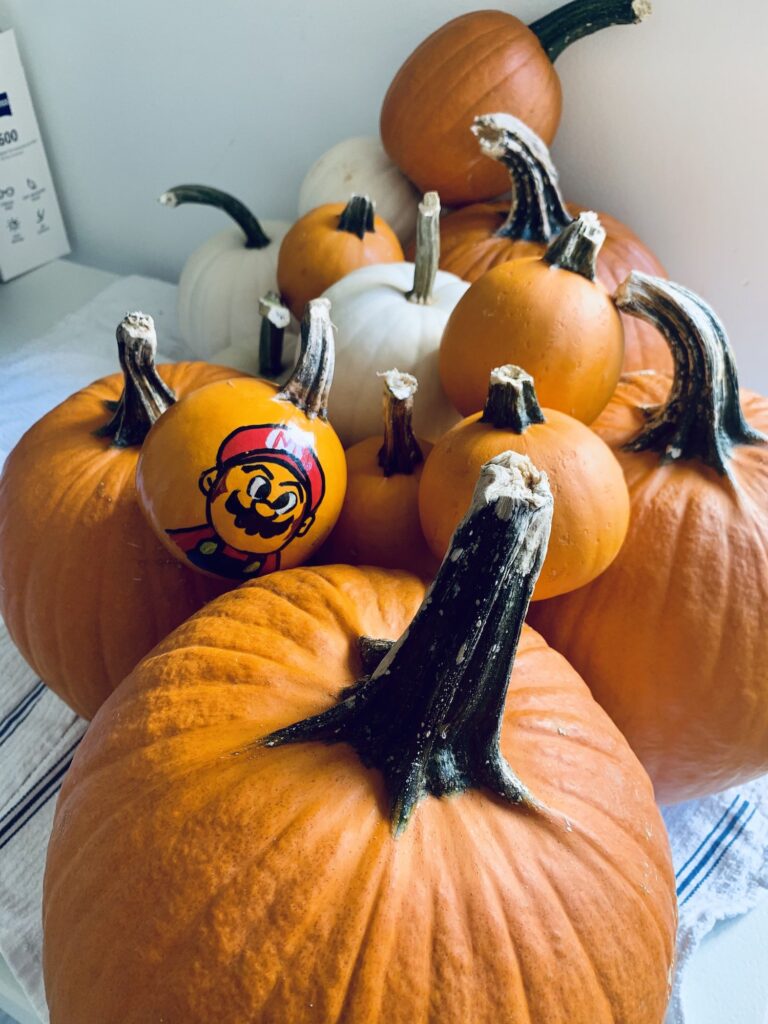
Once the soaking time is done, rinse off your pumpkins and then dry them well. We allowed the pumpkins a little extra air dry time before the next step.
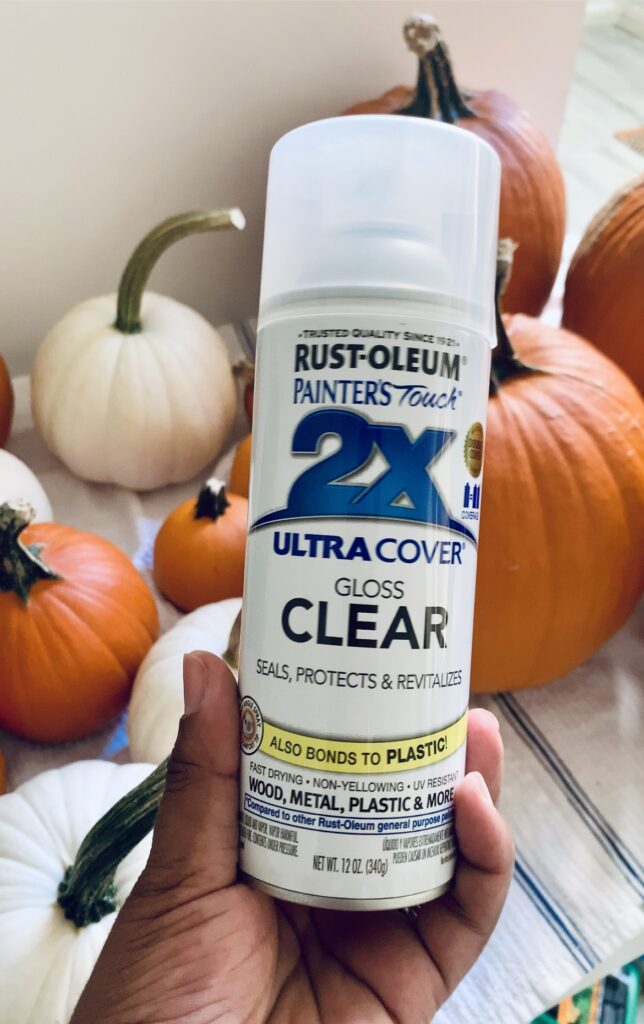
Optional Step.
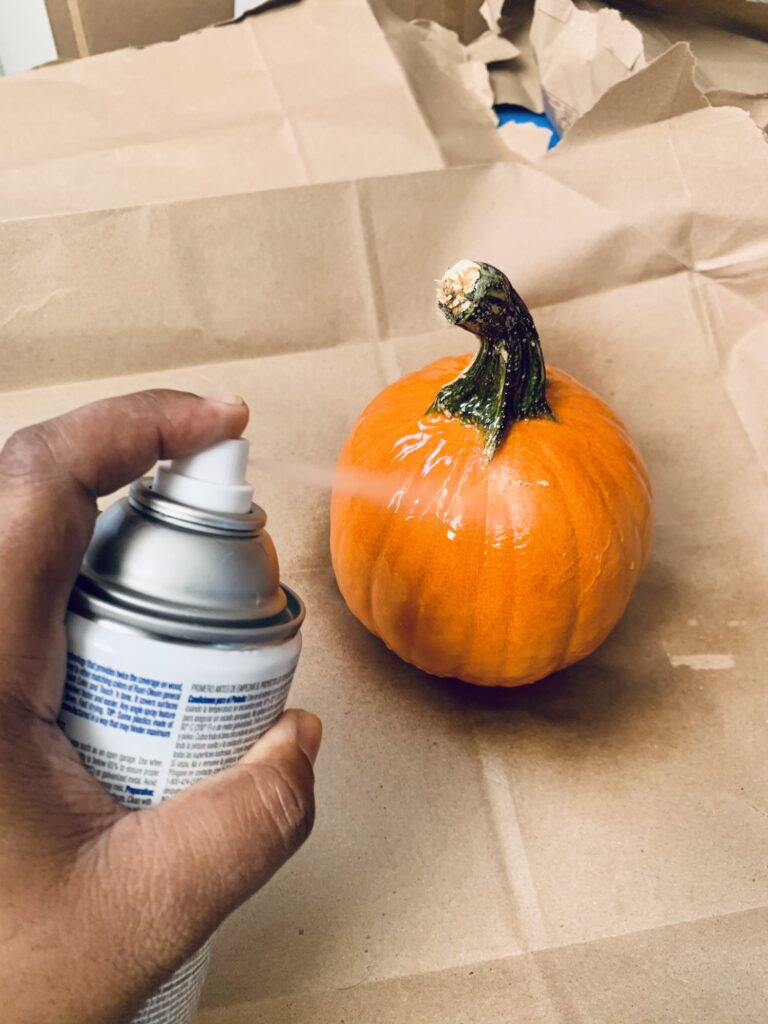
Seal with clear paint and allow to dry per the paint can’s instructions. I allowed our pumpkins to dry for about 24 hours. Doing this is just an extra step in extending your pumpkins shelf life. I used glossy paint only because that was what I could quickly get my hands on. However, I preferred my pumpkins to have a matte finish to have a more natural look.
Once your pumpkins are completely dried, have fun decorating!
IMPORTANT NOTE: This method is NOT animal-safe.
If you plan or expect for any animals to feed off of your pumpkins, you’ll want to take these alternative methods.
- First, wash your pumpkins in undiluted vinegar. No water needed.
- Next, dry your pumpkins thoroughly.
- Have fun decorating!
If you try this pumpkin hack let me know how it works out! If you have tried a pumpkin prepping process like this before, let me know your results. Did it make a difference in your pumpkins’ shelf life? How long did your pumpkins last? Did you opt for the regular or the toxic-free method? Let me know in the comments!
PIN THIS TO PINTEREST!